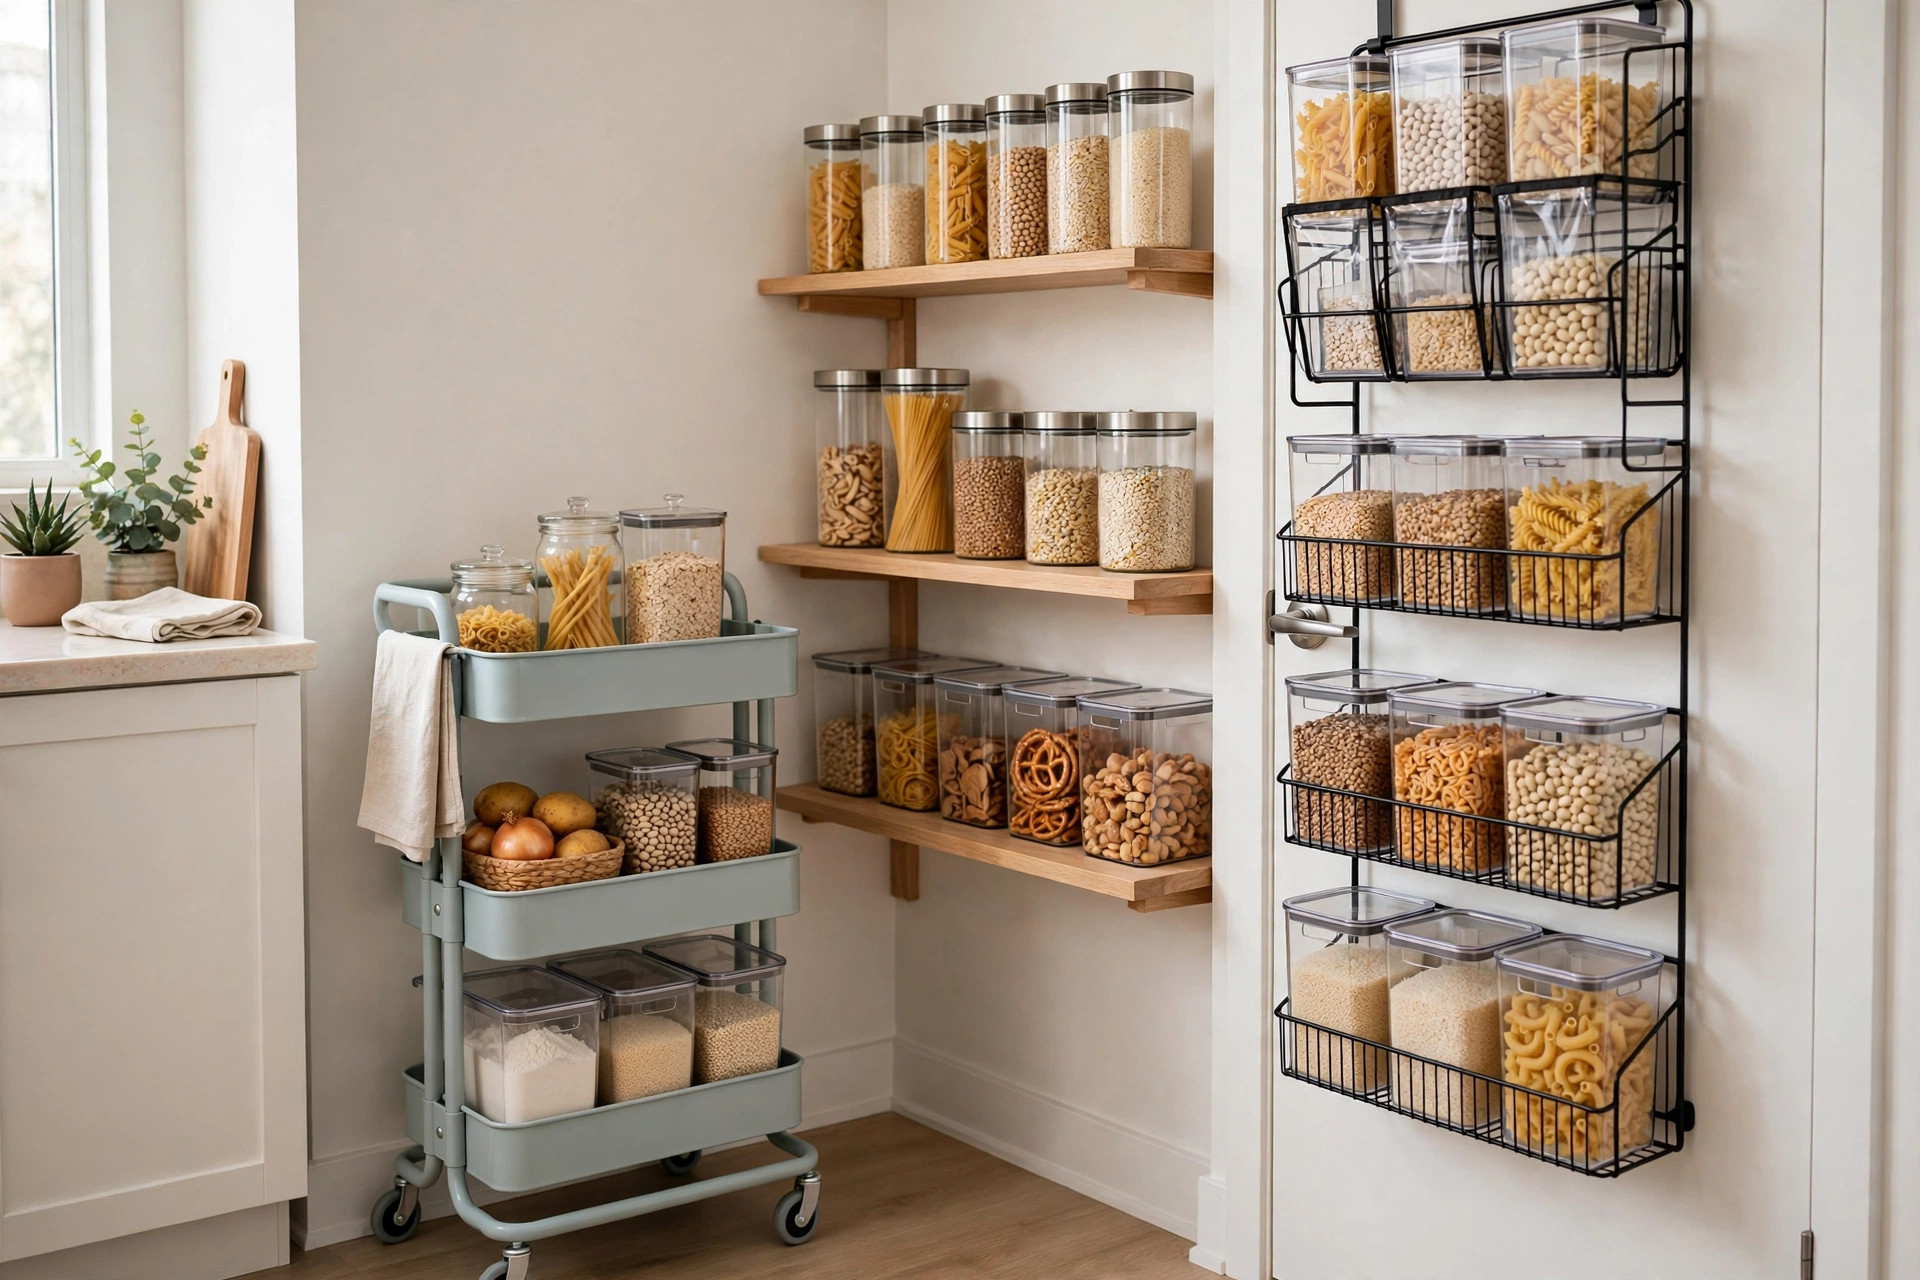
No pantry does not mean no system. It just means your food storage has to live somewhere smarter — a closet, a cart, a cabinet, or the back of a door. These 15 pantry organization ideas for small spaces create a pantry out of what you already have, with cheap, renter-friendly organizers and clear zones.
1. Turn a Small Closet Into a Pantry
A hall, laundry, or entry closet near the kitchen is the best pantry you never knew you had. Clear it out, wipe the shelves, and add two or three inexpensive wire or wood shelves if the spacing is too tall. Store heavy cans and bottles on the lowest level and lighter boxes and bags up top. If the closet has a door, you instantly gain hidden, dust-free food storage.
2. Use a Rolling Cart as a Mobile Pantry
A slim three-tier rolling cart can hold an entire category of food and slide wherever you need it. Park it beside the refrigerator, in a gap next to a cabinet, or inside a closet, then roll it out when you cook. Use separate tiers for breakfast items, snacks, and baking basics. Carts cost roughly $20 to $35 and are perfect for apartments because nothing is installed or permanent.
3. Claim the Back of a Door
Doors are wasted storage in most small kitchens. An over-door rack with clear pockets or wire baskets turns a pantry, closet, or kitchen door into vertical storage for spices, packets, wraps, snacks, and small jars. Choose a rack with hooks that fit your door thickness so it does not rattle, and keep heavier items in the middle pockets for balance. This can free a full cabinet shelf and removes cleanly when you move.
4. Dedicate One Cabinet as Your Pantry Zone
If a closet is not an option, give food one clear home instead of scattering it across every cabinet. Pick the cabinet closest to where you prep food and move dishes or rarely used appliances out. This is easier with a full plan, like our guide to small kitchen storage ideas for tiny kitchens. One defined pantry cabinet is faster to use, easier to restock, and far less likely to turn into a forgotten mess.
5. Decant Into Clear, Square Containers
Bags and boxes waste space and hide what you own. Transfer flour, rice, pasta, cereal, and snacks into clear, square containers that stack neatly and let you see levels at a glance. Square shapes use shelf corners that round jars waste. You do not need a matching luxury set — start with four or five affordable containers for the foods you buy most, and write the expiration date on tape on the bottom.
6. Add Turntables to Deep Shelves
Deep cabinets and closet shelves are where sauces and cans go to be forgotten. A lazy Susan turntable brings the back row to the front with one spin, so nothing expires behind newer groceries. Use a 10- to 12-inch turntable for oils, vinegars, and sauces, and a larger one for cans in a deep closet pantry. Choose a style with a low lip and a non-slip surface so bottles stay upright.
7. Double Your Shelf Space With Risers
Most pantry shelves have six or more inches of empty air above short cans and boxes. A stackable shelf riser creates a second level instantly, and under-shelf space stops going to waste. Put everyday items on the lower level and back stock on top. Pair this with our step-by-step guide to organizing kitchen cabinets in simple steps. Wire risers usually cost under $12 and need no tools.
8. Group Foods in Dollar Store Bins and Baskets
Bins are the cheapest way to make a no-pantry setup look and work like a real pantry. Give each bin one job — snacks, pasta and grains, cans, baking, or lunch supplies — so family members can pull out a whole category instead of digging through a shelf. Dollar store bins work well because you can buy a matching set for very little. Pick bins with handles, and avoid bins so deep that small items disappear.
9. Put an Empty Wall to Work
A short stretch of blank kitchen or hallway wall can hold two floating shelves or a simple rail with hooks and small baskets. Keep these shelves for pretty, everyday items — jars of grains, a fruit basket, cookbooks, or a row of spices — and store the bulky clutter elsewhere. Shallow shelves, around six inches deep, work best because nothing hides behind anything else.
10. Clip Baskets Under Existing Shelves
Under-shelf baskets slide onto a shelf and create a new storage level in the empty space underneath it. They are ideal for wraps, packets, snack bars, spice refills, and lightweight boxes that otherwise form messy piles. One or two per shelf is enough — filling every gap makes shelves feel crowded and hard to clean. They cost a few dollars, install in seconds, and come off easily at the end of a lease.
11. Create Simple Zones and Label Them
A small pantry stays organized when every item has an obvious place to return to. Set up plain zones: breakfast, snacks, dinner staples, baking, and back stock. Then label shelves, bins, and containers with a label maker, chalk labels, or masking tape and a marker. Labels are not about looks — they stop the slow drift that turns a tidy shelf into a jumble, especially in a shared home.
12. Use the Top of the Fridge and Cabinets for Back Stock
The space above the refrigerator and on top of wall cabinets is too awkward for everyday items, but it is perfect for back stock. Store duplicate paper goods, bulk snacks, and unopened extras in one or two matching bins up there so the area looks intentional, not cluttered. Keep a small step stool nearby and never store heavy glass jars overhead.
13. Slide a Slim Tower Into a Narrow Gap
That awkward six-inch gap between the refrigerator and the counter, or beside a stove, can hold a slim slide-out tower for spices, oils, cans, and bottles. These narrow rolling shelves turn dead space into one of the hardest-working spots in a small kitchen. Measure the gap’s width, depth, and height carefully before ordering, and leave a little clearance so the tower rolls smoothly.
14. Build a Breakfast and Snack Station
Gathering the foods you reach for every morning into one drawer, bin, or cart tier saves time and stops daily rummaging through your whole supply. A breakfast station might hold cereal, oats, coffee, tea, sweeteners, and bowls nearby, while a snack station keeps bars, nuts, and fruit cups in one labeled bin. This works especially well for kids, who can help themselves without rearranging shelves.
15. Shop Your Pantry First With a 5-Minute Weekly Reset
The best system fails without a tiny maintenance habit. Once a week, spend five minutes putting strays back in their zones, moving older items to the front, and tossing anything expired. This first-in, first-out habit means food gets used before it goes stale and your list writes itself. Five calm minutes weekly beats a full, frustrating clean-out every few months.
What to Avoid
- Buying organizers before measuring. Carts, towers, and bins that are half an inch too wide are the most common small-space mistake. Measure every gap, shelf, and door first.
- Decanting everything at once. Transfer only foods you buy repeatedly. Rare items are cheaper and fresher left in their original packaging.
- Storing food near heat or cleaning products. Keep pantry items away from the stove, direct sun, and under-sink chemicals so flavors and packaging are not affected.
- Mixing categories in one big bin. One oversized, unlabeled bin becomes a junk drawer for food within a week.
- Overfilling every shelf. Leaving a little breathing room is what makes a small pantry feel calm and keeps the system easy to maintain.
Frequently Asked Questions
How do I organize food if I have no pantry at all?
Start with one home base — a closet shelf, a rolling cart, or a single cabinet — and give every food category a labeled bin or zone there. Add vertical storage on a door or wall, keep back stock on top of the fridge, and reset the area for five minutes once a week.
How much does a small pantry makeover cost?
A basic version can cost $30 or less using dollar store bins, a few labels, and organizers you may already own. Adding a rolling cart, turntables, and a set of clear containers brings a typical total to roughly $50 to $100. Spend first on bins and labels, and upgrade containers gradually.
How do I keep a small pantry tidy in a shared home?
Make the system obvious: one category per bin, large labels at eye level, and a snack or breakfast station people can use without digging. Keep everyday items at the front and back stock separate. A five-minute weekly reset — ideally right before grocery shopping — quickly fixes drift before it turns into a full mess again.
Conclusion
You do not need a walk-in pantry to have an organized kitchen — you need one defined place for food, a few inexpensive organizers that fit your space, and zones simple enough for everyone to follow. Start with the idea closest to your biggest frustration — a closet, a cart, or a labeled cabinet — and build from there. Save this guide for later, and share it with anyone setting up a small apartment kitchen — your future grocery days will feel calmer, faster, and far less wasteful.