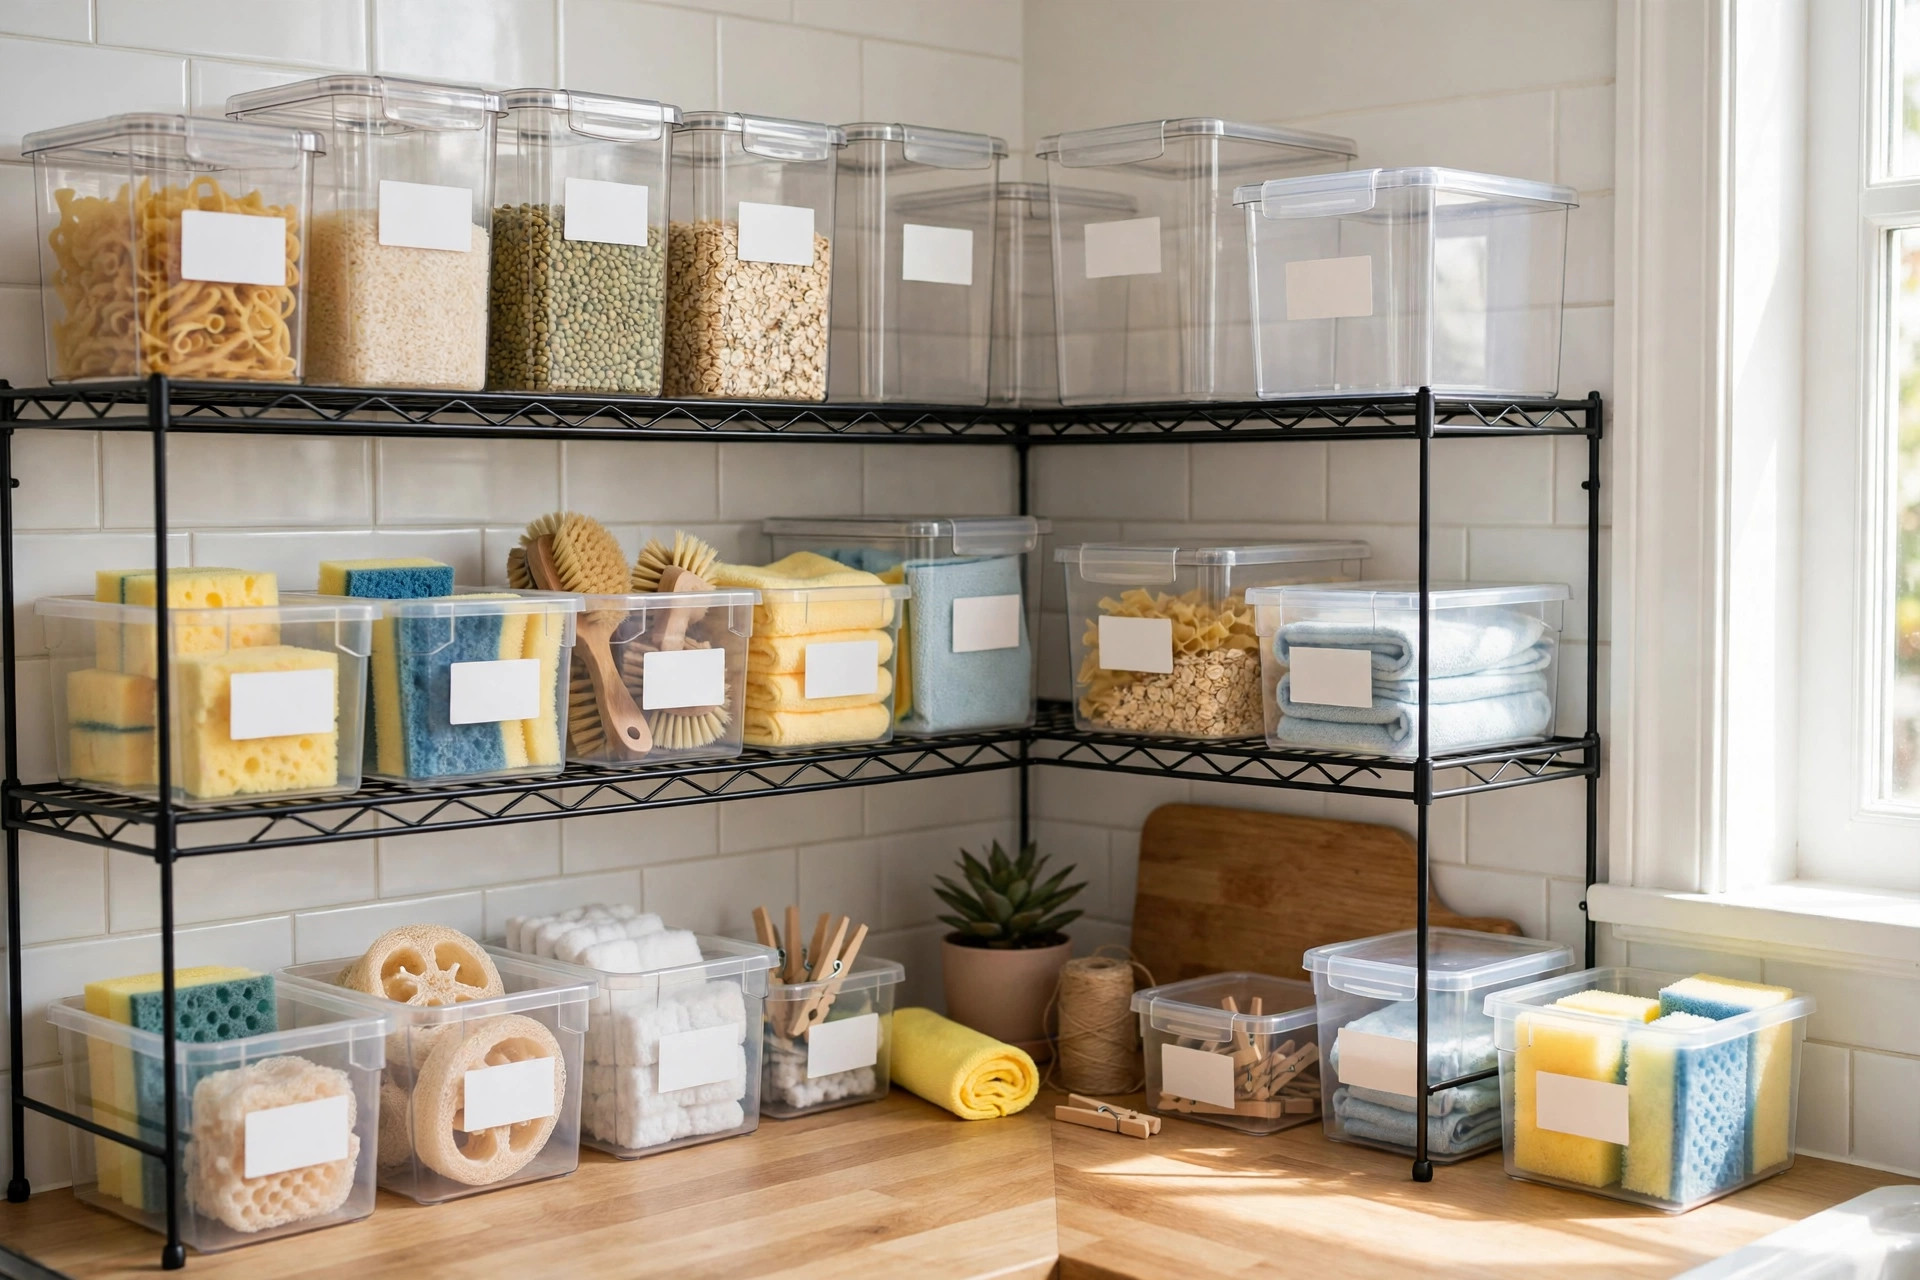
You do not need expensive organizers to have an organized kitchen. Dollar store bins, baskets, hooks, and labels can fix cabinets, drawers, counters, and pantries for under $25 — if you shop with measurements and a list. These 20 dollar store kitchen organization ideas show you exactly what to buy, where to use it, and what to skip.
1. Start With Measurements and a List
Before you shop, measure every cabinet, drawer, shelf, and gap you want to organize, and write the numbers on your phone. Then make a list: how many bins, baskets, hooks, and labels you need, and for which space. Shopping with a list stops impulse buys and returns. Buy one of each style first, test it at home, and only then buy matching sets.
2. Use Matching Bins for a Calm, Expensive Look
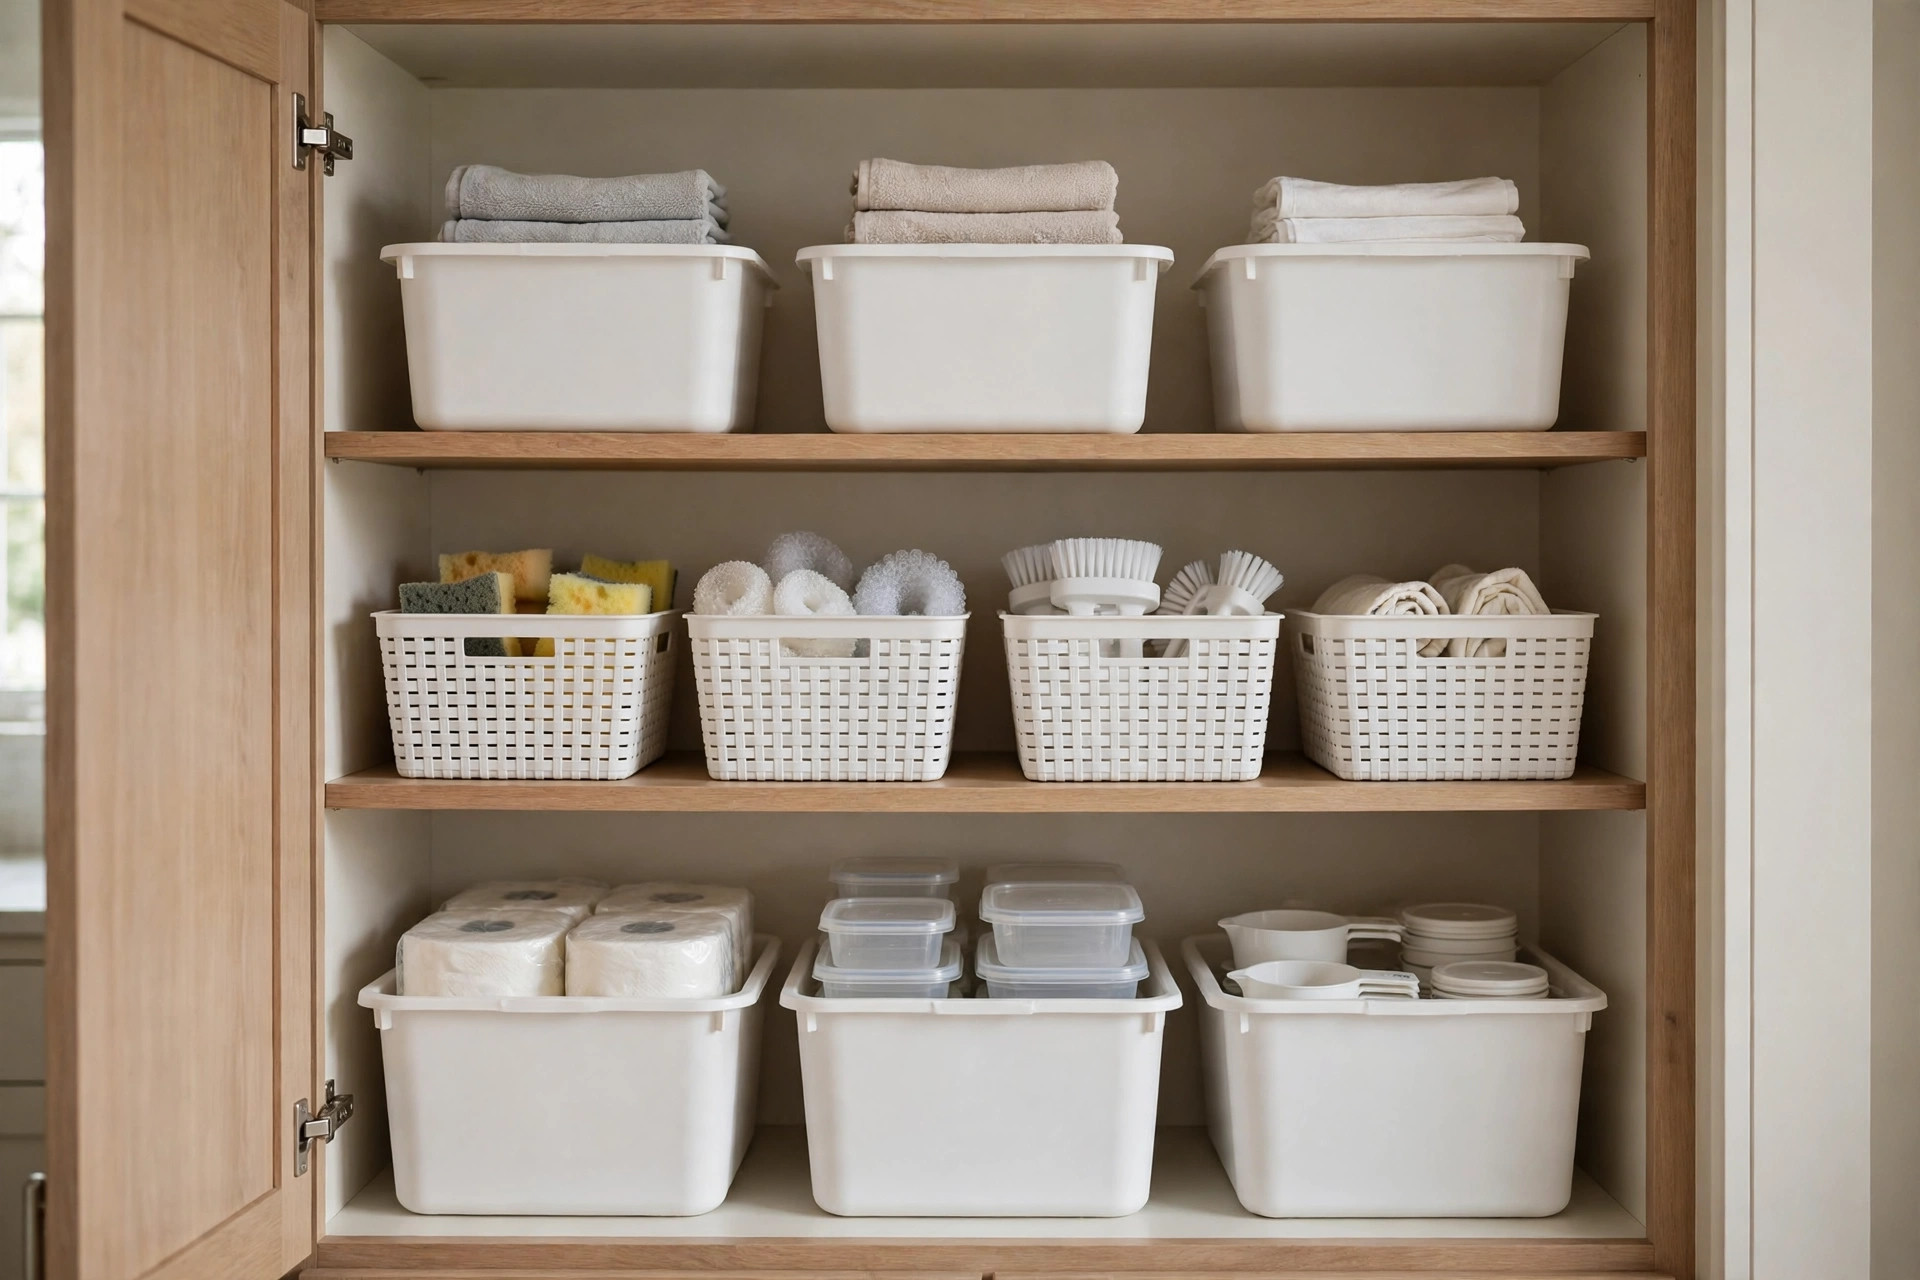
Matching bins in one color make cheap organizers look intentional. Choose white, clear, or bamboo-look bins and use the same style across cabinets and pantry shelves. This is the same matching-bin idea from our guide to small kitchen storage ideas for tiny kitchens. One color, one style, everywhere — that consistency is what makes a $1 bin look like a $10 one.
3. Label Every Bin, Even the Obvious Ones
Labels turn a bin into a system. Use a label maker, chalk labels, or masking tape and a marker to name each bin by its job: snacks, pasta, baking, lids, cleaning. Labels help everyone in the house put things back in the right place, and they make a shelf look tidy even when the contents are ordinary. Label the front and the top of deep bins so you can read them from any angle.
4. Add Shelf Risers Inside Cabinets
A wire shelf riser doubles the usable space inside a cabinet for about $1 to $3 at a dollar store. Use risers for mugs, cans, and small plates, so you stop stacking things in wobbly towers. Measure the cabinet height first — a riser needs enough clearance for the items on top. Start with one or two risers in your most-used cabinet and add more only where you still need height.
5. Use Small Baskets as Pantry Zones
Give each food category its own small basket: breakfast, snacks, pasta, baking, and lunch supplies. Family members can pull out a whole basket instead of digging through a shelf, and restocking is as simple as refilling one basket. Choose baskets with handles so they slide out easily, and keep each basket to one category only. A mixed basket becomes a junk basket within a week.
6. Organize Drawers With Dollar Store Trays
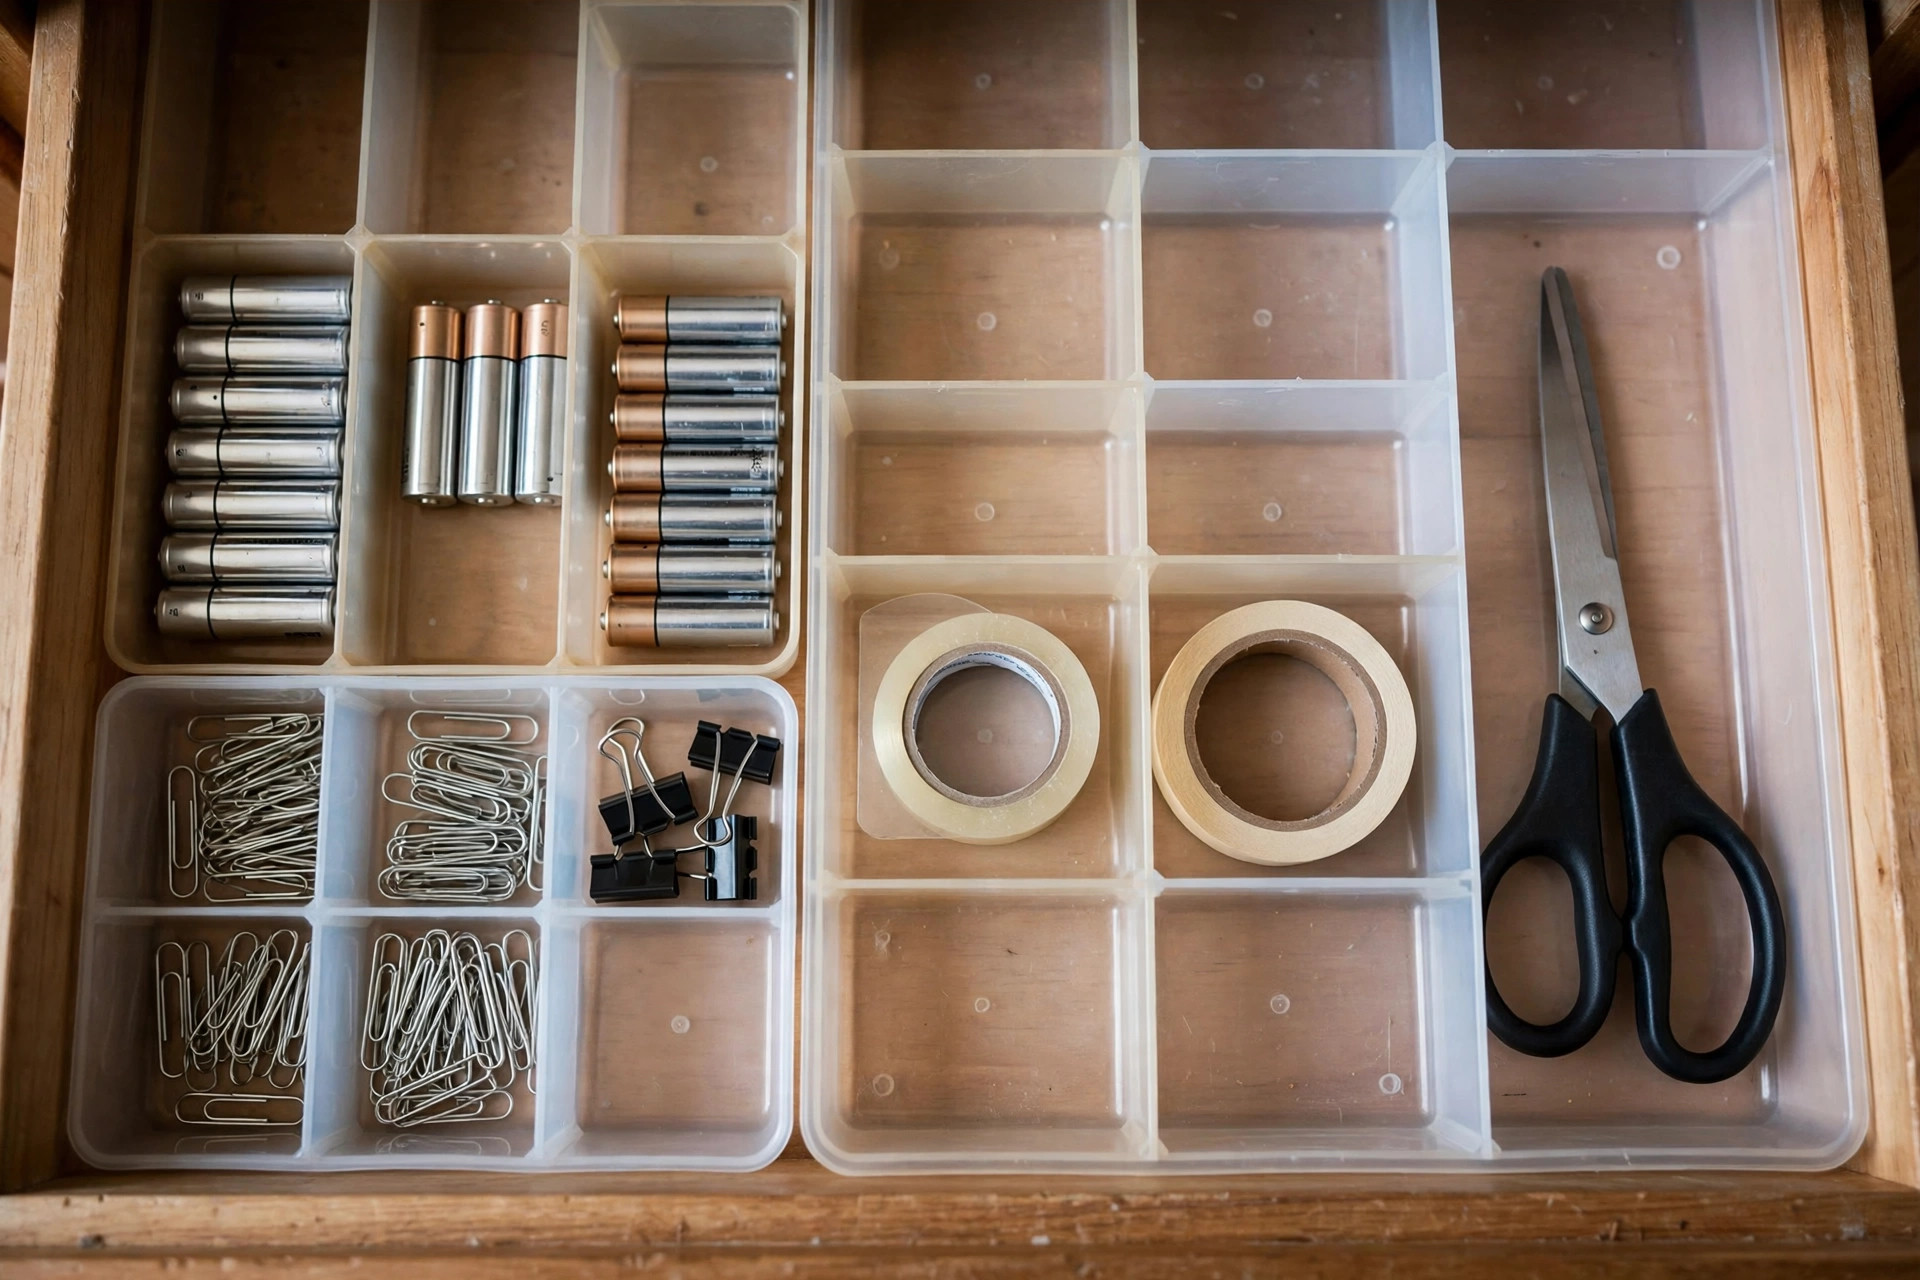
Small plastic trays, cutlery organizers, and bamboo-look dividers from the dollar store can transform a junk drawer for a few dollars. Measure the drawer first, then combine two or three small trays to fit the space exactly. This is the cheapest way to test the drawer system in our guide to organizing kitchen cabinets in 9 simple steps before you spend more on sturdier pieces. Keep one tray per category and leave a little breathing room.
7. Hang Adhesive Hooks Inside Cabinet Doors
Adhesive hooks cost almost nothing and turn the inside of a cabinet door into storage for measuring cups, scissors, foil, or cleaning cloths. Choose hooks rated for the weight you plan to hang, test adhesive on a hidden spot first, and keep the load light. Renters love this fix because it removes cleanly and leaves no holes. Do not hang heavy items on adhesive hooks — they will fall and damage the door.
8. Use Tension Rods for Lids and Cutting Boards
A short tension rod inside a cabinet creates a vertical divider for lids, cutting boards, and baking sheets. Place the rod a few inches from the cabinet wall, slide lids or boards upright behind it, and you can grab the right one without moving a pile. Tension rods also work under the sink for hanging spray bottles. Measure the cabinet width carefully — a rod that is too long will not fit, and one too short will slip.
9. Store Spices in Small, Matching Jars
Dollar store spice jars, small glass jars, or matching plastic containers make a spice shelf or drawer look tidy and cost very little. Decant spices into matching jars, label the lids, and store them flat in a drawer or on a tiered riser in a cabinet. Buy only the jars you need for spices you use regularly, and write the date you filled each jar on the bottom so you know when to replace it.
10. Create a Junk Drawer Kit for $5
Every home needs one junk drawer, but it should be small and sorted. Buy four or five tiny bins or silicone cups from the dollar store and give each one a job: batteries, tape, bag clips, twist ties, and scissors. This is the same small-bin system from our drawer organization hacks for spices, gadgets, and utensils. Empty the drawer once a month and toss anything broken or expired before it overflows.
11. Use Clear Bins So You Can See Everything
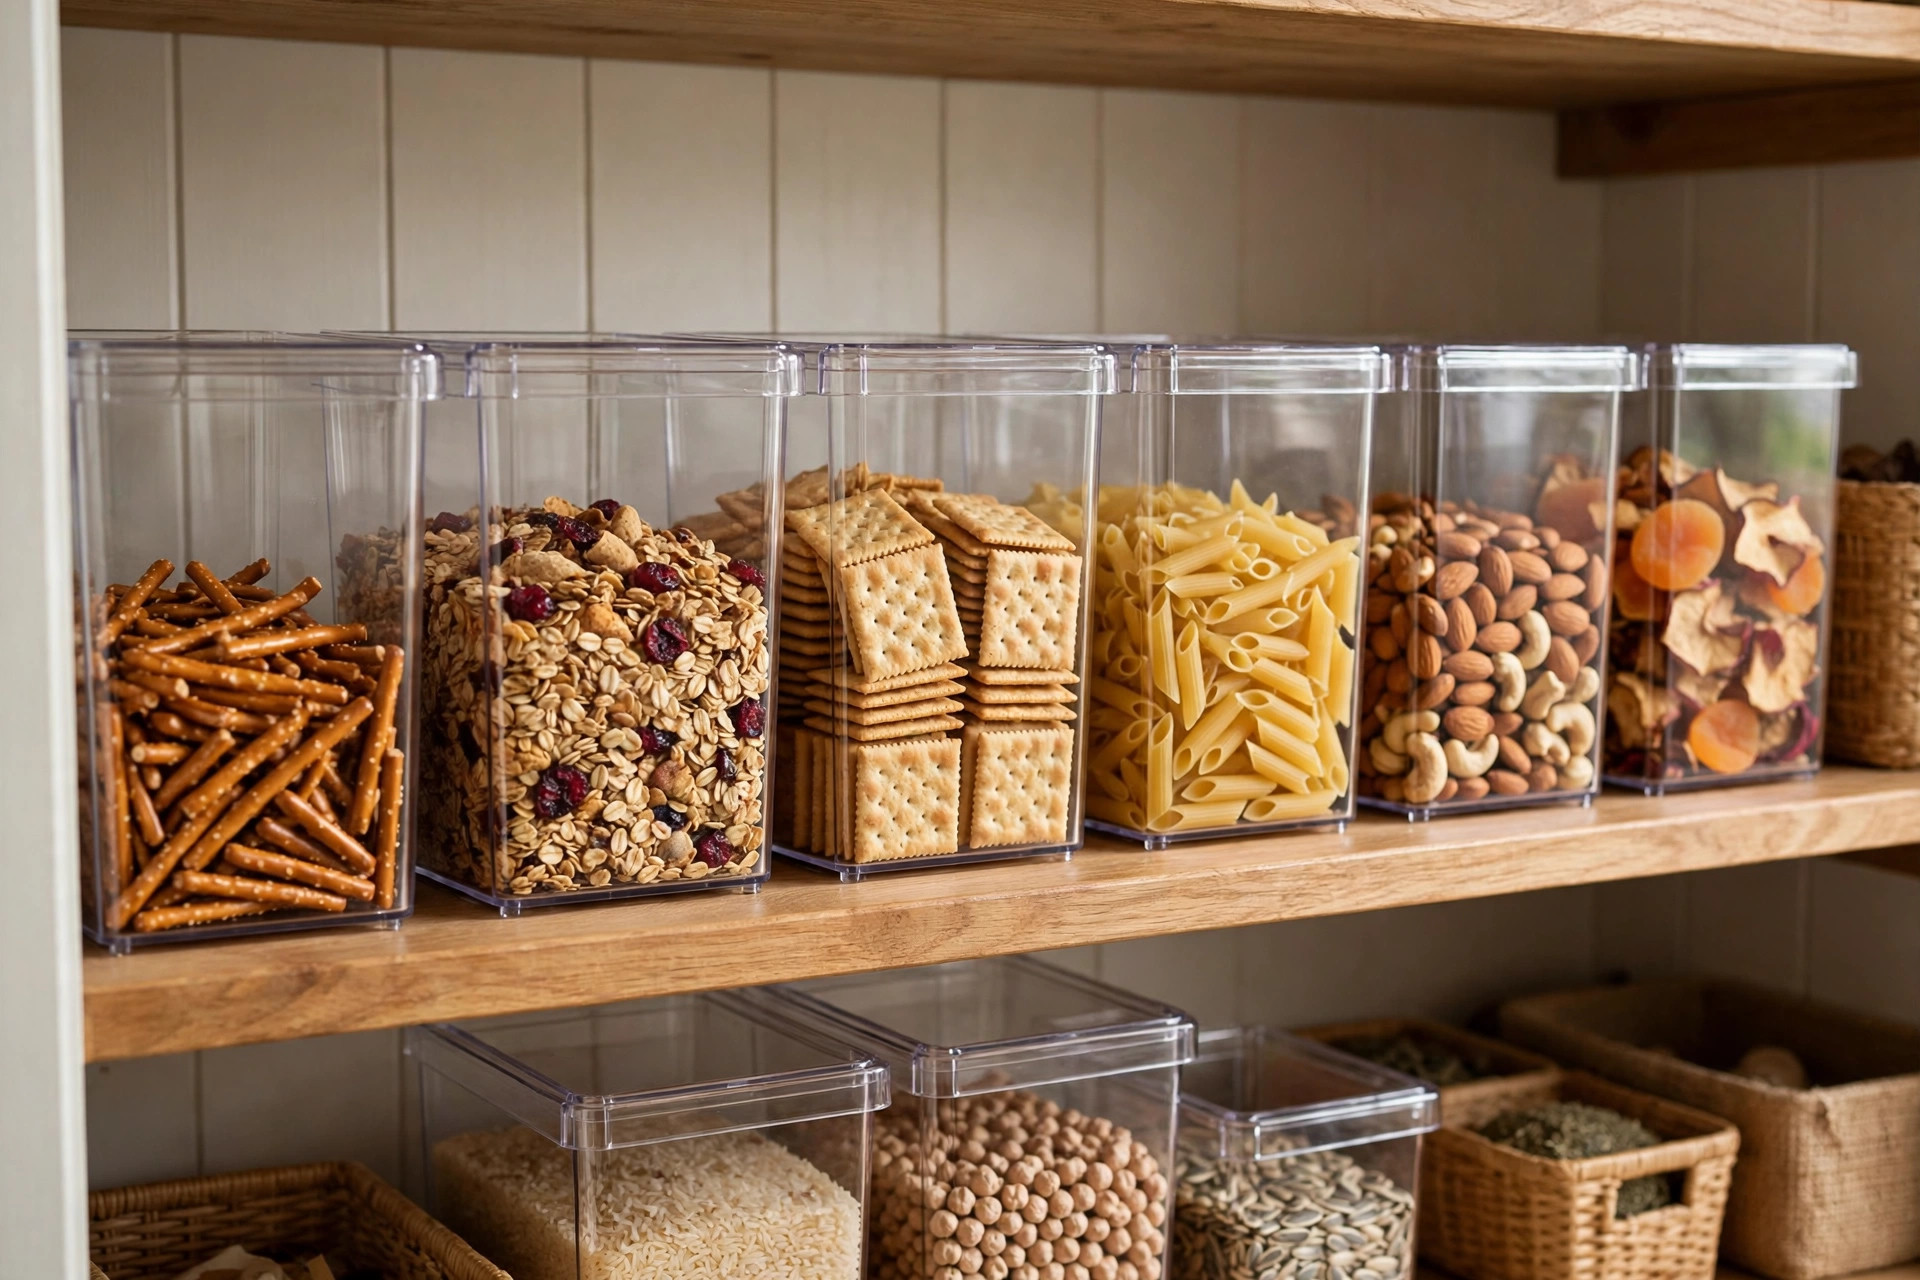
Clear bins are the best dollar store buy for pantries and cabinets because you can see what is inside without opening them. Use clear, square bins for dry food, snacks, and small packets, and label each one. Square bins fit edge to edge and waste less space than round ones. Avoid clear bins for items you want to hide, like cleaning products — use solid bins for those instead.
12. Add Under-Shelf Baskets for Free Space
Under-shelf baskets slide onto a shelf edge and create a new storage level underneath it. Use them for wraps, snack bars, spice packets, or dish towels. They cost a few dollars, install in seconds, and remove without a mark. Use one or two per shelf — filling every gap makes shelves feel crowded and hard to clean. Keep each basket light so the shelf edge stays straight.
13. Organize the Fridge With Dollar Store Bins
Small bins work in the fridge too. Use one bin for condiments, one for snacks, one for lunch supplies, and one for leftovers. Bins stop small jars from tipping over and make it easy to pull out a whole category at once. Choose bins that fit your fridge shelves, leave space for air to circulate, and wipe them weekly. Do not overfill fridge bins — a crowded fridge wastes food faster.
14. Use a Lazy Susan for Deep Cabinets
A small turntable, or lazy Susan, from the dollar store fixes deep cabinets where sauces and cans get lost at the back. One spin brings everything to the front, so nothing expires behind newer groceries. Choose a turntable with a raised edge so bottles do not slide off, and measure the cabinet depth first. Use one for oils and sauces, and another for cans or vitamins if you have space.
15. Make a Cleaning Caddy for Under the Sink
Put dish soap, all-purpose spray, sponges, and gloves in one handled caddy or a small plastic basket. You can lift the whole caddy out to clean under the sink or carry supplies to another room. Keep the caddy to daily-use products only, and store bulk refills in a closet. A caddy also protects the cabinet floor from drips, because spills stay inside the basket instead of spreading across the wood.
16. Use Shelf Liner to Protect and Quiet Cabinets
Non-slip shelf liner from the dollar store protects cabinet shelves, stops glasses from sliding, and quiets clattering dishes. Cut it to size with ordinary scissors, leaving a small margin at the back. Liner is ideal for renters because it improves the cabinet without paint, screws, or permanent change. Replace liner once a year, or sooner if it gets sticky or torn.
17. Hang a Small Basket on the Pantry Door
An over-door basket or a small wire rack on a pantry or closet door adds storage for spices, packets, wraps, and snacks without using a shelf. Choose a rack that fits your door thickness so it does not rattle, and keep heavier items in the middle for balance. This is a renter-friendly fix that removes cleanly. Do not overload the door — if it will not close easily, something has to come off.
18. Create a Coffee and Tea Station With One Tray
Gather coffee, tea, sugar, mugs, and spoons on one tray near the kettle or coffee maker. The tray defines the station, keeps crumbs contained, and makes the counter look tidy. Use a small wooden or bamboo tray from the dollar store, and keep it to the items you use every morning. Store extra coffee, filters, and tea boxes in a cabinet nearby, not on the tray.
19. Use Clips and Bag Sealers to Stop Food Waste
Bag clips, binder clips, and small sealer clips from the dollar store keep cereal, snacks, and frozen food fresh after opening. Keep a small cup of clips in a drawer or on a pantry shelf, and use one every time you open a bag. Sealed bags stack neatly, spill less, and last longer. This tiny, cheap habit saves more money than almost any other organizer on this list.
20. Do a $25 Kitchen Reset in One Weekend
Put it all together: measure first, buy matching bins, risers, trays, hooks, and labels for under $25, and organize one zone at a time — cabinets on Saturday morning, drawers in the afternoon, pantry on Sunday. Declutter before you organize, test one of each organizer before buying multiples, and leave a little breathing room on every shelf. A small, planned spend beats a big, random shopping trip every time.
What to Avoid
- Buying organizers before measuring and decluttering. Storage for clutter is still clutter, however cheap it was.
- Mixing styles and colors everywhere. One matching style looks calm; five different styles look messy, even if each bin was only $1.
- Choosing flimsy bins for heavy items. Cheap bins are fine for packets and light items, but cans and glass jars need sturdier storage.
- Overfilling every shelf and drawer. Leaving breathing room is what makes a small kitchen feel calm and easy to maintain.
- Copying a photo exactly. Your cabinet sizes, habits, and budget should decide what stays — not a picture of someone else’s kitchen.
Frequently Asked Questions
How much does it cost to organize a kitchen with dollar store items? A basic kitchen reset usually costs $15 to $25 using bins, baskets, risers, hooks, and labels from the dollar store. Start with the zones that frustrate you most, buy one of each style to test, and add matching pieces only where they work.
Are dollar store organizers good enough for a kitchen? Yes, for most uses. Dollar store bins, baskets, and trays work well for light items, dry food, and drawer organization. For heavy cans, glass jars, or items you use daily, choose sturdier versions after you have tested the layout with cheap pieces first.
What dollar store items should I avoid for kitchen organization? Avoid flimsy bins for heavy cans, adhesive hooks for heavy items, and containers that do not fit your measurements. Skip anything you do not have a specific home for — an organizer without a job becomes clutter itself.
Conclusion
An organized kitchen does not need a big budget. It needs measurements, a list, matching bins, and one zone fixed at a time. Start this weekend with $25, a tape measure, and the cabinet that bothers you most. Save this guide for later, and share it with a friend who wants a tidy kitchen without spending a fortune.