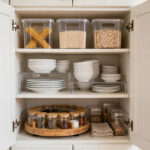
Open the cabinet under your bathroom sink and you will probably find the same scene as everyone else: bottles tipped over, a hair dryer cord wrapped around the cleaning spray, three half-empty lotions, and something sticky you cannot identify. It is the most ignored cabinet in the house — dark, awkward, and built around a maze of pipes. But under-sink bathroom organization is easier than it looks, because the space is small and the fix is a system, not a shopping spree. These 8 easy steps take about an hour, cost $15 to $35 in basic bins, and work in rentals and owned homes alike. By the end, everything will have a category, a container and a label — and it will stay that way.
Step 1: Empty Everything and Clean the Cabinet
Take absolutely everything out — every bottle, tool and forgotten cotton ball. This feels worse before it feels better, and that is normal. Wipe the cabinet floor and walls with an all-purpose cleaner; under-sink cabinets collect drips, hair and dust in a combination no other cabinet matches. Check for leaks while you are down there: run your hand along the pipes and look for dampness or water stains. A slow drip is worth fixing now, before it ruins your new system. While the cabinet is empty, lay down a waterproof liner or mat ($5 to $10) — it catches future drips, makes the floor wipe-clean, and gives bins something grippy to sit on. This empty-and-wipe reset is the same first move as any good deep clean — our room-by-room deep cleaning checklist uses it in every cabinet in the house.
Step 2: Sort Into Categories and Be Honest
With everything out, group like with like: hair tools and products, skincare, makeup, cleaning supplies, first aid, and extras/back stock. Now the honest part. Toss expired medicine and sunscreen, dried-out nail polish, and products you tried once and hated. Combine half-empty duplicates into one bottle where you can. Most people find 20 to 30 percent of what was under the sink does not need to go back. Set a hard rule for what returns: if it is not used weekly, it needs a very good reason to live in this prime, reachable space.
Step 3: Measure the Space — Including the Pipes
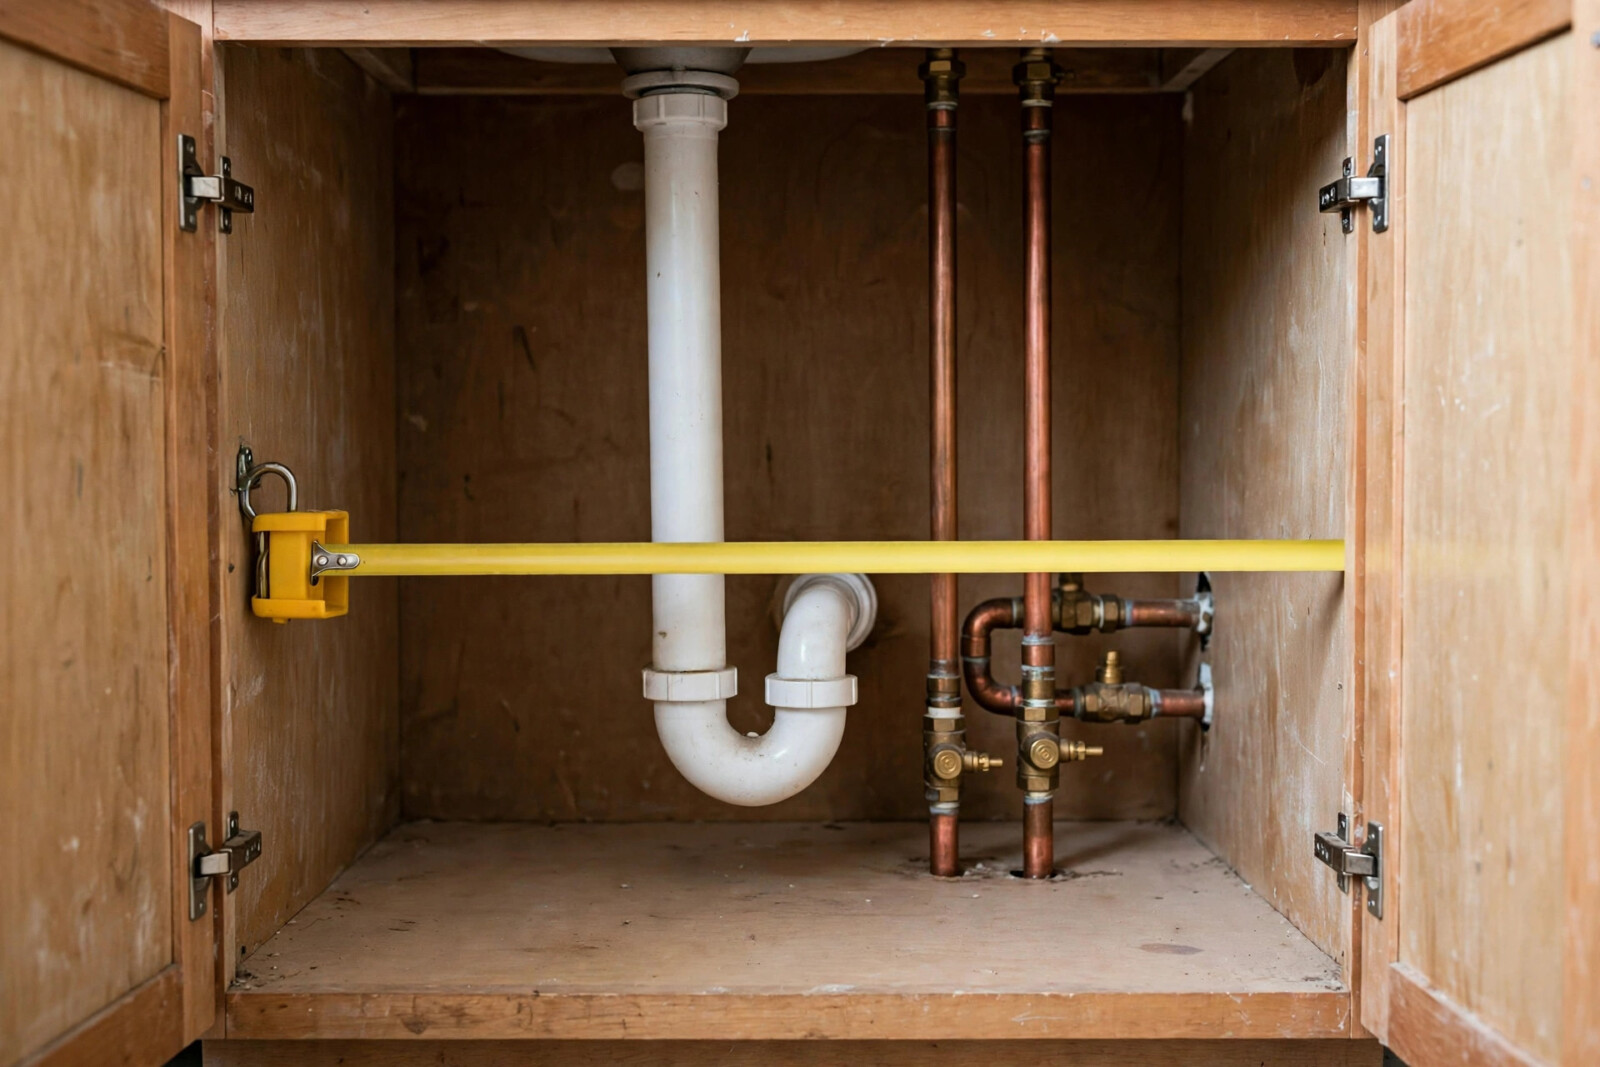
This is the step everyone skips, and it is why bins end up returned to the store. Measure the cabinet’s width, depth and height, then measure the pipes: how far they come down from the sink, and how much clear space sits on each side of them. Write down three zones — left of pipes, right of pipes, and the shallow space in front. Most bathroom cabinets offer two side zones of about 10 to 14 inches wide. Also note the depth at floor level versus higher up — many vanities narrow where the drawer box sits, and a bin that fits the floor may jam against the top. Bring these numbers when you shop, or keep them in your phone for checking product dimensions online. Five minutes with a tape measure is the difference between a system that fits and a pile of good intentions.
Step 4: Choose Bins and Risers That Work Around Plumbing
Now pick containers that fit your measurements. Clear stackable bins ($3 to $6 each at dollar and discount stores) are the workhorse — you can see contents at a glance and stack two high on each side of the pipes. A small riser shelf or stackable drawer unit ($10 to $18) doubles the height in one zone, perfect for skincare or first aid. A turntable ($8 to $12) suits the front zone, where a spin beats a dig. The same clear-bin thinking powers our under-sink kitchen storage ideas — kitchens and bathrooms share the same pipe problem and the same solution. Avoid one giant bin; it becomes a junk drawer with walls.

Step 5: Give Hair Tools Their Own Station
Hair tools are the number-one cause of under-sink chaos: bulky, corded, and used daily, so they get tossed on top of everything. Fix it with one dedicated bin or a heat-resistant caddy ($10 to $15) that holds the dryer, straightener and brushes upright, cords coiled loosely beside them. If the cabinet door has room, a door-mounted tool holder keeps them off the cabinet floor entirely. One station, one motion in the morning, one motion back. When tools have a home, they stop colonizing the rest of the cabinet.
Step 6: Put Cleaning Supplies in a Grab-and-Go Caddy
Cleaning products stored loose under the sink get knocked over, leak, and mix with your skincare — nobody’s favorite discovery. Move them into one handled caddy ($5 to $8): bathroom spray, glass cleaner, wipes, a scrub brush and gloves. When it is time to clean, you carry the whole caddy out in one trip. Store the caddy on the side opposite your daily products, and keep it low — cleaners are heavy and used least often. If small children visit or live with you, this is also the moment to add a simple cabinet lock ($5) on the door.

Step 7: Label Every Bin and Zone
Labels sound fussy until you have lived one week with them. A label maker, or masking tape and a marker, on the front of each bin — HAIR, SKIN, CLEAN, FIRST AID, EXTRAS — ends the open-every-bin shuffle and, more importantly, keeps everyone else in the household putting things back in the right place. Systems fail when only one person knows them. Labels take ten minutes and are the cheapest insurance your organization can buy. Keep them big, short and readable in a dark cabinet.
Step 8: Set a Five-Minute Monthly Maintenance Habit
Under-sink organization is not a one-time event; it is a small habit. Once a month — pair it with something you already do, like the first weekend clean — spend five minutes: wipe any drips, check for leaks, toss empties, and return escapees to their bins. That tiny reset stops the slow slide back to chaos. And remember, this cabinet is just one zone of a small bathroom: pair it with wall, door and over-toilet storage from our small bathroom storage ideas with no counter space, and the whole room works as one calm system.
What to Avoid
Avoid storing everyday items behind the pipes, where you have to move three things to reach them — the back-center zone is for back stock only. Avoid cardboard boxes or fabric bins under a sink; one small leak or drip turns them into moldy mush, so choose plastic that wipes clean. Avoid buying organizers before measuring — plumbing layouts vary wildly, and the bin that fit your last apartment may fit nothing here. Avoid keeping medicines in this steamy, warm cabinet if a hallway closet is available; heat and humidity shorten their life. And avoid skipping the leak check: organizing around an active drip just gives the water more things to ruin.
Frequently Asked Questions
What is the best way to organize under a bathroom sink with pipes in the way? Work in zones instead of fighting the plumbing: stackable clear bins on each side of the pipes, a riser to use the height, and a turntable or caddy in front. Measure the pipe clearance first and buy containers that fit the side zones — usually 10 to 14 inches wide. Nothing should need to squeeze past a pipe to come out.
What should I store under the bathroom sink? Daily and weekly essentials in clear categories: hair tools and products, skincare, cleaning supplies in a caddy, first aid, and one small back-stock group. Keep only what you use regularly here; bulk refills and rarely used items belong in a linen closet or bedroom storage if you have one.
How do I keep the under-sink cabinet from getting messy again? Three things: containers for every category (nothing loose), labels so everyone puts things back correctly, and a five-minute monthly reset to wipe drips and toss empties. Mess returns when items have no home or when empties and extras pile up — the monthly check catches both before they spread.
Can I organize under the sink in a rental bathroom? Yes — everything in these steps is freestanding and removable: bins, risers, turntables and caddies need no screws or adhesives. If you want door-mounted storage, choose over-door hooks rather than adhesive or drilled mounts, and your deposit stays safe.
How much does it cost to organize under a bathroom sink? Most setups cost $15 to $35 total: a few clear bins, one riser or drawer unit, a handled caddy and labels. Dollar and discount stores cover nearly everything — the turntable is the only mild splurge, and even that runs under $12. Spend on fit, not looks: containers hidden inside a cabinet earn their keep by size, not style.
Conclusion
An organized under-sink cabinet will not photograph like a spa, but it will change your mornings: no digging, no tipped bottles, no sticky surprises — just open, grab, done. Empty it, sort honestly, measure the pipes, and let clear bins and labels do the rest. Start this weekend; the whole project fits between breakfast and lunch. Save these steps to your bathroom board for your next organizing hour, and share them with a friend whose under-sink cabinet is also held together by hope.