
Clutter does not arrive in a day, and it does not need to leave in one either. The reason most declutter attempts fail is the marathon approach: one exhausting weekend, three rooms half-finished, and boxes that never get sorted. This beginner challenge works differently. You declutter your home in 7 days, one small area per day, in sessions of 30 to 45 minutes with a timer running. The rules are simple: every item you touch gets one of four verdicts — keep, donate, sell, or trash — and nothing goes back into a vague pile. By Day 7 your home will not look like a magazine, but it will feel noticeably lighter, and every room will make more sense. You do not need to become a minimalist. You just need seven days.
Before Day 1: Set Up Your Four Stations (10 Minutes)

Before touching a single item, set up four boxes or bags and label them: Donate, Sell, Relocate (things that belong in another room), and Trash/Recycle. Put them somewhere central. The Relocate box is the secret weapon — most “clutter” is just lost items, and carrying them room to room mid-session is how sessions fall apart. Two more rules for the whole week: work with a timer, and stop when it rings, even mid-shelf. And do not buy a single organizer, bin or basket until Day 7. Organizing before decluttering just gives clutter nicer containers. Total prep cost: $0.
Day 1: Visible Surfaces Everywhere (30 Minutes)
Start where your eyes start: the surfaces. Walk through the entryway, living room, kitchen counters, dining table and nightstands with your four boxes. Everything sitting out must earn its place — used daily, or genuinely loved as decor. Everything else gets a verdict on the spot. Typical Day 1 wins: the mail pile, random chargers, expired coupons, candle stubs, the five mugs living outside the kitchen, and whatever has colonized the dining table. Do not open drawers or closets today; surfaces only. When the timer rings, take the trash out and put the Donate box by the door. Flat surfaces are roughly 80 percent of how cluttered a home looks, so Day 1 alone will feel like a transformation.

Day 2: Kitchen Cabinets, Pantry & the Junk Drawer (45 Minutes)
The kitchen hides clutter behind doors, so work shelf by shelf and drawer by drawer. Toss expired food from the pantry and fridge, spices older than a year (they are dust with ambition), and anything unidentifiable. Then the duplicates: most kitchens hold three spatulas, two can openers and a drawer of single-use gadgets untouched since purchase. Keep the best of each, donate the rest. Be honest about chipped mugs, warped containers and lids without partners — they go. Finally, the junk drawer: empty it completely, trash the true junk (dead batteries, dried pens, mystery keys), and return only what you actually reach for. A realistic Day 2 total is 25 to 40 items out the door.

Day 3: Wardrobe & Bedroom (45 Minutes)
Today is clothes, and one question does the work: have I worn this in the last year, and would I buy it again today? If both answers are no, it goes in Donate or Sell. Work in categories — all tops, then all pants, then shoes — because seeing the full volume of a category makes decisions honest. Stained, stretched or broken items go straight to Trash or the rag bag. When only keepers remain, put them back with space between hangers; a closet at 80 percent full stays tidy, a stuffed one never does. Once the wardrobe is edited, our small bedroom storage ideas for a calm, clutter-free room will help you give everything that survived a proper home.

Day 4: Bathroom & Linens (30 Minutes)
Bathrooms collect products the way kitchens collect gadgets. Empty the medicine cabinet and under-sink zone: expired medicines (take these to a pharmacy take-back program, never the trash or toilet), dried-up nail polish, hotel minis you will never use, and the skincare graveyard of products that did not work. Keep one backup per staple, no more. Then linens: keep two sheet sets per bed (one on, one spare) and two bath towels per person, plus a couple for guests. Worn, scratchy towels become cleaning rags or go to an animal shelter, which usually welcomes them. A realistic Day 4 haul is small but deeply satisfying — these are cabinets you open every morning.

Day 5: Paper & Digital Clutter (30 Minutes)

Paper piles are clutter you can see; digital clutter is clutter you can feel. Paper first: gather every pile in the house into one spot, then sort fast — recycle junk mail and old magazines, file the genuinely important (tax documents, warranties, IDs) into one folder or binder, and shred anything with account numbers. Manuals for appliances can almost always go; they are all online. Then 15 minutes of digital: delete the screenshot pile and blurry duplicates from your phone, unsubscribe from ten marketing emails, clear your downloads folder, and toss the box of cords for devices you no longer own. By tonight, your counters and your home screen should both breathe easier.
Day 6: Storage Zones — Under-Bed, Closet Floors & Bins (45 Minutes)
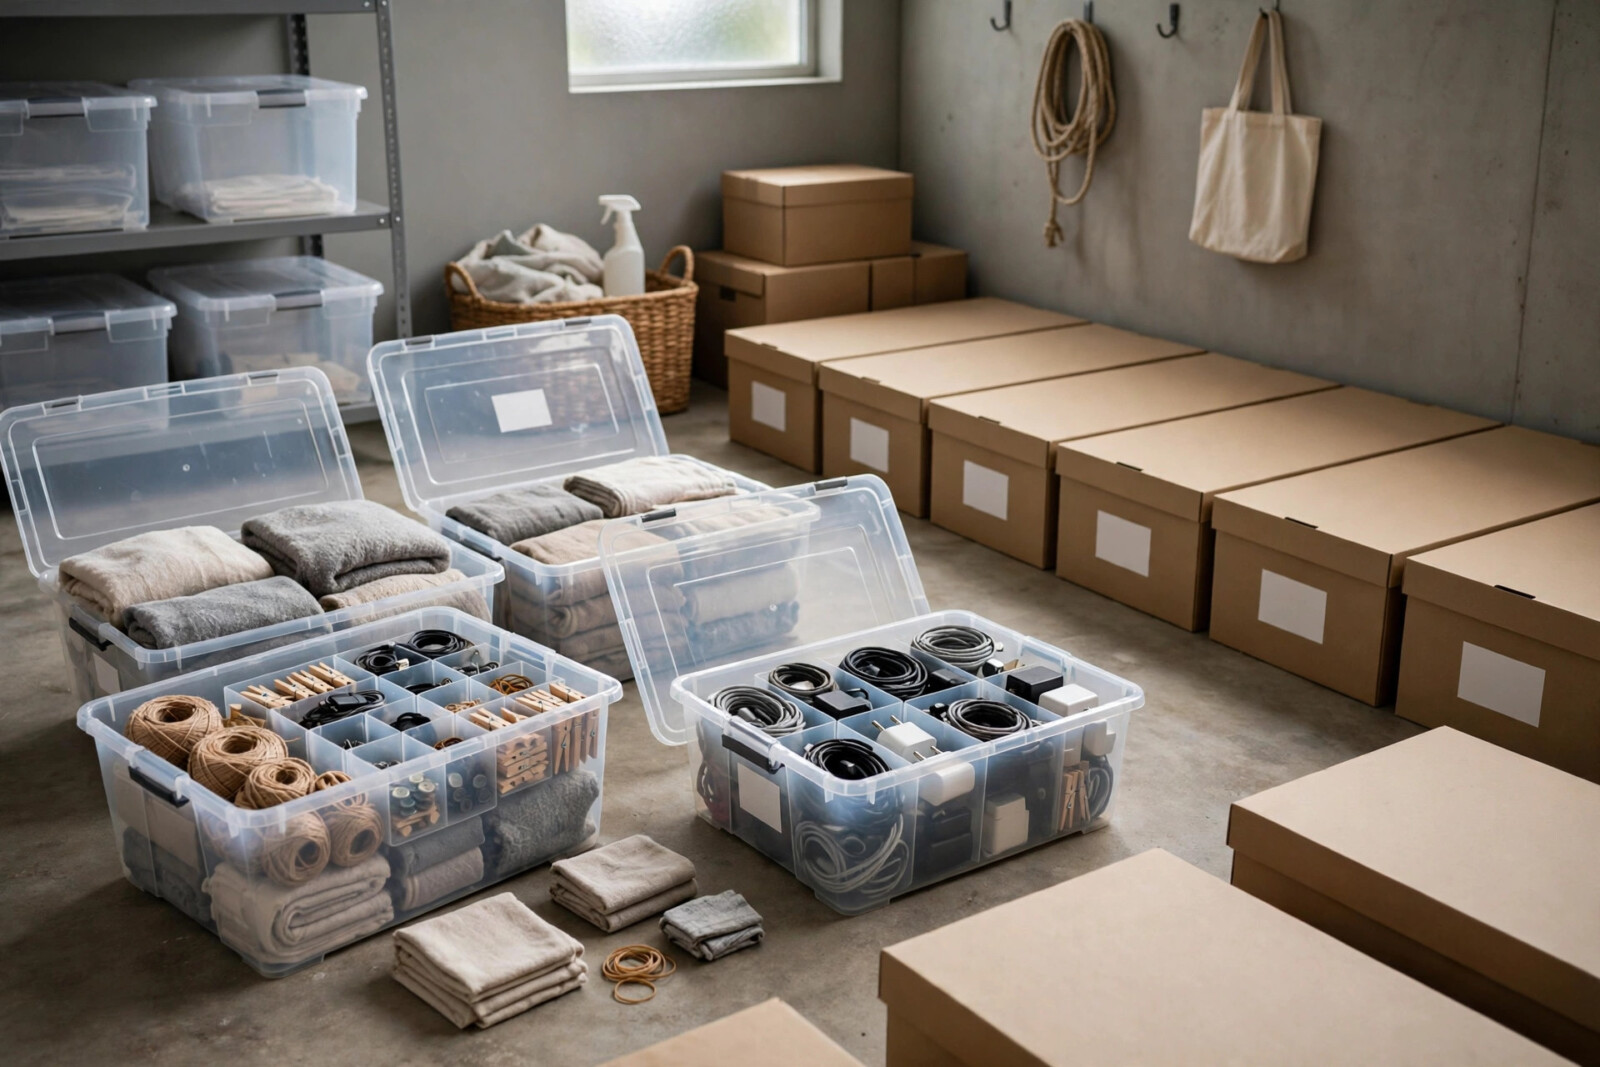
Today you open the places where clutter goes to hide: under the bed, closet floors, storage bins, the garage corner, the “company is coming” closet. The rule for storage zones is stricter than for living spaces, because storage should hold things you use seasonally or genuinely treasure — not things you are avoiding deciding about. Open each bin and give contents the four verdicts. Empty bins are a win, not a waste. If you find off-season clothes, spare bedding and luggage worth keeping, our under-bed storage ideas show how to store them flat, labeled and dust-free so the zone stays honest. Anything you forgot you owned is telling you something: you do not need it.
Day 7: Reset, Organize & Set the Rules (30 Minutes)

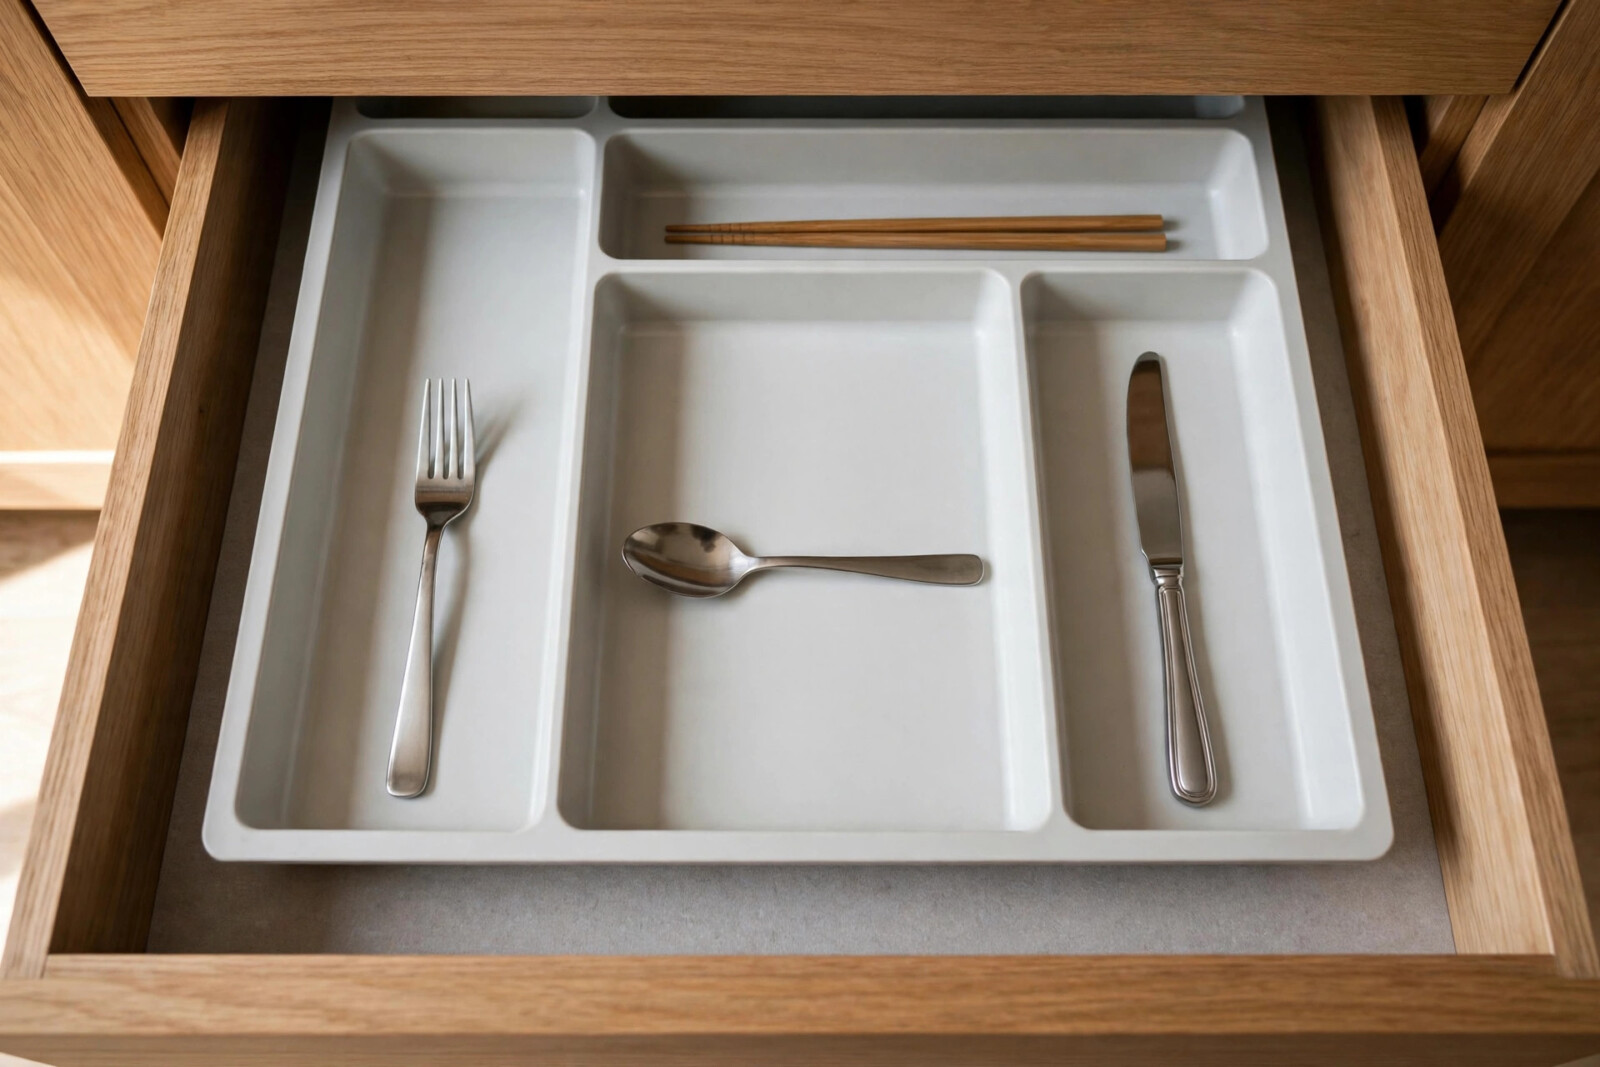
The final day is about finishing, not finding more. Empty the Relocate box completely — every item to its real home. Get the Donate box out of the house today (car trunk counts only if drop-off is this week), photograph the Sell items for listing, and take out all trash and recycling. Now you may buy the one or two organizers your edited rooms actually need. Then set the two rules that keep the week from undoing itself: one in, one out for clothes, books and kitchen gear, and a 10-minute weekly reset — same day each week, surfaces and floors back to Day 7 state. With clutter gone, this is also the perfect moment for a proper clean: a room-by-room deep cleaning checklist turns a decluttered home into a genuinely fresh one in a single weekend.
What to Do With Everything That Leaves

Decluttering fails at the door if the outgoing stuff lingers in a hallway for a month, so give every category a deadline. Donate: bag it the same day you fill the box and drop it within the week — most thrift stores accept drive-up donations in minutes. Sell: only bother with items realistically worth $10 or more; list them within 48 hours, and anything unsold in two weeks gets donated instead, no exceptions. Recycle and trash responsibly: electronics, batteries and paint go to e-waste or hazardous-waste collection, not the bin; expired medicines go to a pharmacy take-back; broken glass gets wrapped and labeled. Relocate: the box must be empty by the end of Day 7 — if an item has no home by then, that is its verdict.
What to Avoid
Avoid buying storage bins, baskets or labels before or during the challenge — buying first just hides clutter at extra cost. Avoid decluttering other people’s belongings without them; nothing kills household goodwill (and a challenge) faster than a partner or roommate finding their things in a donation bag. Avoid keeping “just in case” duplicates beyond one sensible backup — the third set of guest towels is not a plan, it is storage rent. Avoid chasing a magazine finish; the goal is a home that works, not a photo shoot. And avoid spreading the challenge over “whenever” — seven consecutive days builds momentum that a session every few weeks never will.
Frequently Asked Questions
How long does each day of the challenge take?
Between 30 and 45 minutes, plus a 10-minute setup before Day 1. Set a timer and stop when it rings — the cap is what makes the challenge finishable on workdays. If you have more energy, take it out on the outgoing boxes, not on starting tomorrow’s area early.
What if I miss a day?
Just continue with the next day in sequence when you can. The challenge is an order, not a streak — Day 4 works fine on a Thursday. What matters is not doubling up to “catch up”; two big sessions back to back is exactly the marathon pattern this challenge replaces.
How much stuff should I expect to get rid of?
There is no quota, but most beginners are surprised: 5 to 8 bags and boxes across the week is typical, and many people pass 100 individual items without trying. Do not chase a number, though — a home with 40 right things removed beats a forced purge you regret.
What do I do with sentimental items?
Give them a boundary instead of a ban: one memory box per person. If it fits and genuinely matters, it stays; if the box overflows, something in it matters less than the new arrival. For bulky keepsakes — kids’ artwork, inherited furniture you do not use — a clear photo preserves the memory without the storage cost.
How do I keep the clutter from coming back?
The one-in-one-out rule plus the 10-minute weekly reset handles most of it. Add a standing donation bag in a closet so “donate” decisions have somewhere to go the moment you make them, and do one drawer or shelf check a month. Clutter returns slowly, so small regular pressure beats another big purge.
Conclusion
Seven days, four boxes, one timer — that is the whole system. You have cleared the surfaces, edited the kitchen and wardrobe, faced the storage zones, and put rules in place so the calm lasts longer than a week. Start Day 1 tonight with just the surfaces; future-you will be motivated to continue. Save this challenge to your declutter board so each day’s list is one tap away, and share it with a friend — doing Day 1 on the same day as someone else is the best accountability trick there is.
Enjoying these ideas?
Get our free 7-Day Small Home Reset Checklist and one practical small-home idea every week.